- Search
-
Login
-
0
ComparisonAdd products to compare, then they will appear here and you can compare parameters.
-
0
0 €Nothing in the basket.
Calibrite ColorChecker Video
Video Color Control from Capture to Edit
Top accessories for Calibrite ColorChecker Video
Product description
Video Color Control from Capture to Edit
Featuring four greyscale calibration bars and saturated and unsaturated RGB primaries
Extended skin tone patches for additional colour precision
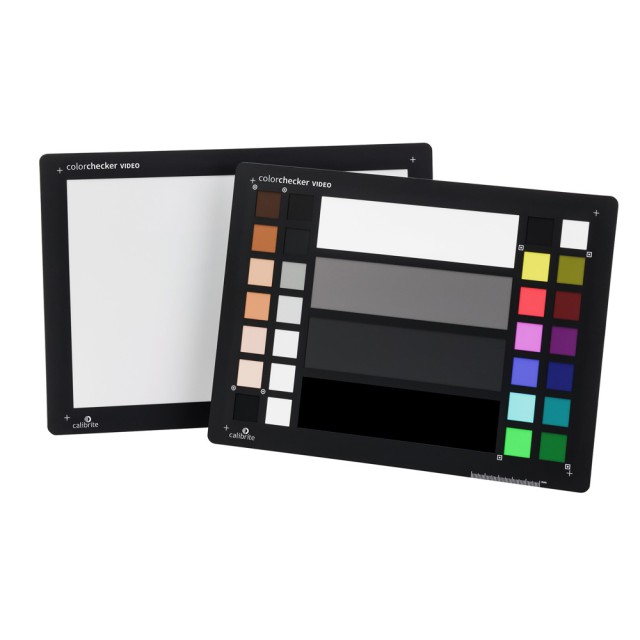
An A4-sized double-sided target with a 12% grey balance target on the back
This target is an essential tool when colour matching multiple cameras
Supported by many key third-party software applications
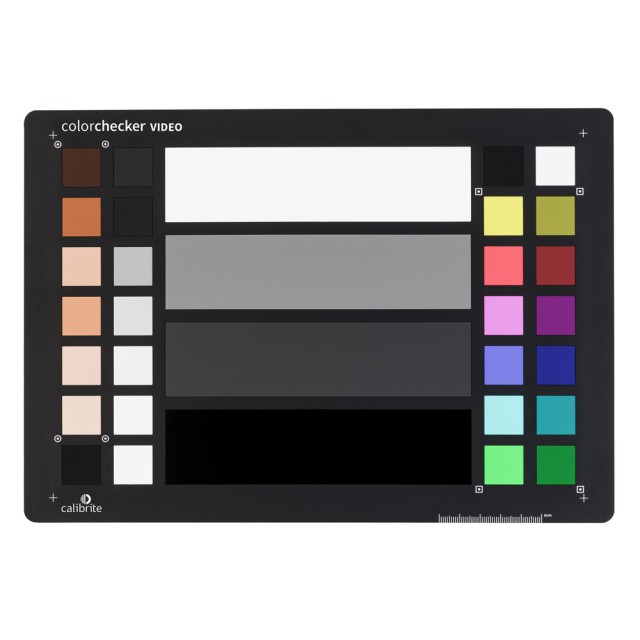
The ColorChecker Video offers colour balance and control for filmmaking – from shoot to edit, it is the same size as the original ColorChecker Classic at 215.9 x 279.4mm but specifically designed for video.
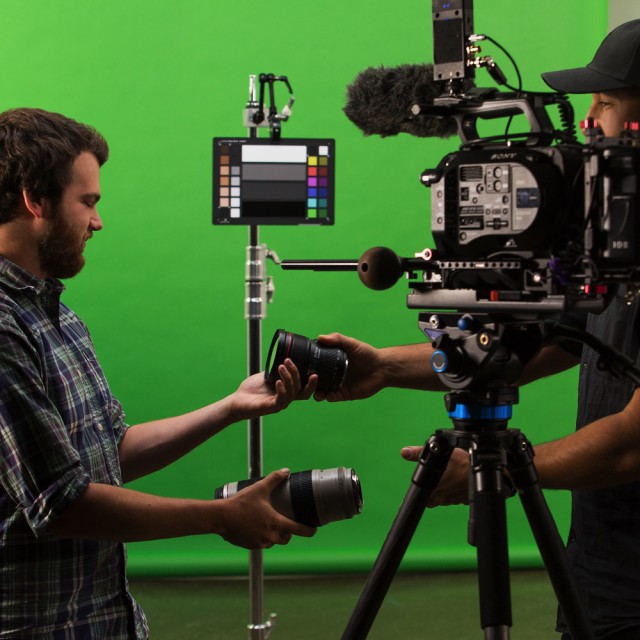
The Calibrite ColorChecker Video is the ideal colour chart for your video workflow. This two-sided target provides chromatic colour chips, skin tone chips and grey reference chips on one side and a spectrally neutral white balance card on the other side. This colour target is perfect for pre-camera checks and wider shots.
The ColorChecker Video will get you to a worry-free colour balanced and consistently neutral place, with ideal camera exposure, faster than ever before – giving you more time to spend on your creative look. It’s an essential colour tool you won’t want to be without, saving you valuable time from capture to edit.
ColorChecker Video is a durable and rigid colour target, specifically intended for video production. It includes a video colour chart on one side and a large spectrally neutral white balance card on the flip side.
Features
Use for a variety of applications, including:
Colour grading
Colour balancing
Gray balancing
Setting perfect exposure
Colour matching multiple cameras
Shooting and editing for mixed lighting
Even More Features
Video Colour Target
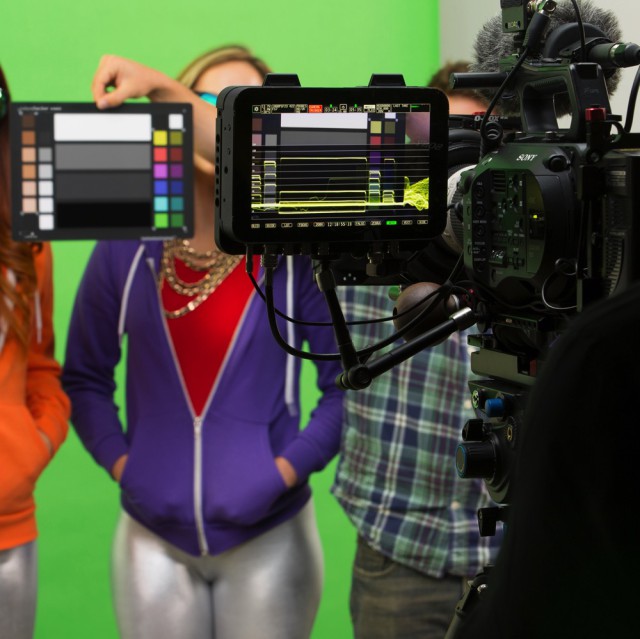
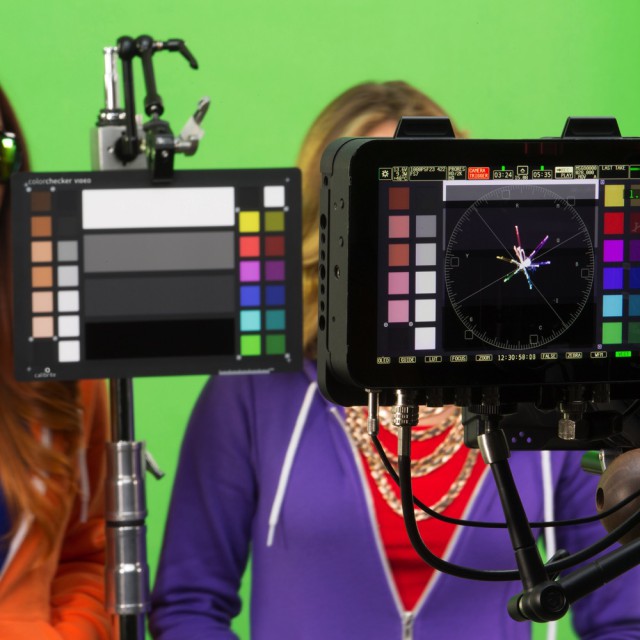
Speed up your colour grading workflow by achieving ideal exposure and colour balance, whether shooting with one camera or multiples. The colour chart includes a series of chromatic colour chips, skin tone chips, gray chips and illumination check chips. The layout is designed for ideal performance when used with vectorscopes and waveforms, whether on camera or in software.
Chromatic Colours: two rows of six chromatic colour chips, both saturated and desaturated, specifically designed to align with the colour axis on a vectorscope. These colours provide two levels of colour information to more quickly achieve an ideal colour balance.
Skin Tones: ranging from light to dark with subtle undertones to better reproduce accurate flesh tones. This row of chips is positioned on the outer edge of the target for easy alignment.
Large Gray Levels: four larger steps for even gray balance, including white, 40IRE gray, deep gray and high gloss black. These levels are ideal for determining proper exposure whether you use a waveform, zebras, or false colours. Use these levels to align the exposure and contrast of cameras you are matching and ensure that mid-tones are rendered accurately. These chips are positioned in the centre of the test target for maximum exposure, even on a wide set.
Linear Grayscale: six colour chips for achieving even gray balance. This row addresses highlight and shadow regions.
Illumination Check Chips: black and white chips at two corners to better assist in determining even illumination across the target
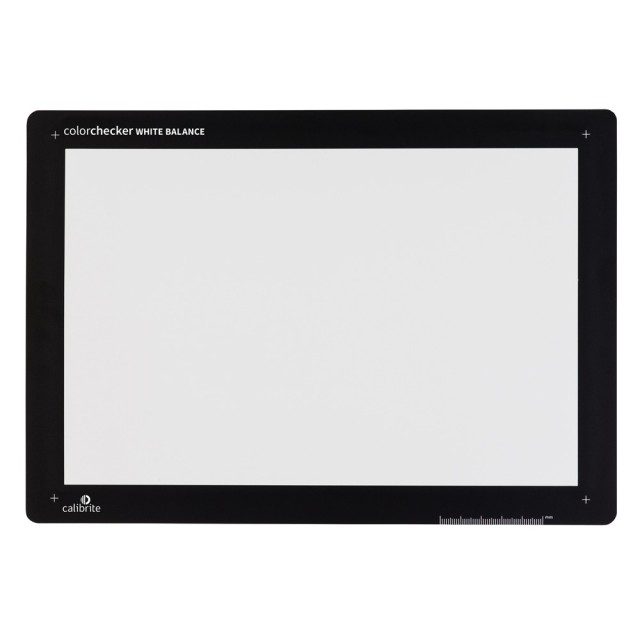
White Balance Target
Starting with an accurate white balance ensures the colours you capture are true and provides a point of reference for post-shoot editing. The White Balance target found on the reverse side is a spectrally flat target that provides a neutral reference point across mixed lighting conditions that you encounter during a video shoot. Since the target reflects light equally across the visible spectrum, creating an in-camera custom white balance can properly compensate for varying lighting.
With this chart, you’ll be able to:
Eliminate colour casts
Improve the colour preview on your camera’s display so your histograms are more reliable
Make post production colour correction and editing faster and easier by eliminating the need to neutralize each frame individually
“Why can’t I use just any white object for white balancing?”
White balancing on a piece of paper or other gray element in the scene may seem like a simple workaround, but most objects are not actually neutral under all lighting conditions; and they’re certainly not consistent. An inaccurate white balance will result in colour casts, and a lack of consistency between lighting conditions, making colour corrections extremely time consuming.
Include ColorChecker Video targets in every shoot to make your video workflow faster, more consistent, more balanced and repeatable. You’ll save time and money avoiding costly mistakes and frustrating colour corrections after the fact. Best of all, you’ll get to your creative look faster, which is ideal, because we all know how much you love being in your creative place.
3rd Party Software Support
ColorChecker Video is supported by 3rd party software solutions for improved colour grading and efficiencies.
DaVinci Resolve
3DLUT Creator
PACKAGE CONTENT
The ColorChecker Video Target includes:
Chromatic Colours: Six saturated and six de-saturated colour chips aligned with video production
Skin Tones: Six colour chips from light to dark with different undertones
Gray Levels: Four larger steps for even gray balance, including white, 40IRE gray, deep gray and high gloss black reference patches
Linear Grayscale: Six steps for even gray balance, including highlight and shadow regions
Illumination Check Chips: Black and white colour chips at two corners to better assist in determining even illumination
White Balance Target: Create in-camera white balance to start at a neutral point for all the footage you capture.
SPECIFICATIONS
| Number of Targets: | 2 |
| Number of Colour Patches: | 33 |
| Target Size: | 215.9 x 279.4mm |
| Humidity Range: | 85% or less, non-condensing |
ACCESSORIES (10)
Canare L-3C2VS BLK BNC 5m SDI cable
Calibrite ColorChecker Classic
Calibrite ColorChecker Classic Nano
HDMI cable 2.0b UHD 4K High Speed + Ethernet 2,0m
Calibrite ColorChecker Classic Mini
Calibrite ColorChecker Passport Photo 2
Calibrite ColorChecker Studio
Seetec 4K156-9HSD 15,6" 4K Broadcast Monitor
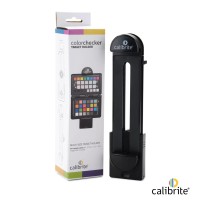
Calibrite ColorChecker Target Holder
- Show all
K&F Alpha Sling 10L Silver
Promotion: -7%This product is the K&F flow series of middle and high-end shoulder bag, waterproof33.66 €36 €Backordered > 5 pcs
Calibrite ColorChecker Video
Video Color Control from Capture to EditFeaturing four greyscale calibration bars149 €3-5 days

SmallRig 15mm Rod Clamp 1995
SmallRig 15mm Rod Clamp 1995 is equipped with two counterbore holes and one 1/4’’12 €In stock > 5 pcs
RED AC Power Adaptor (RED ONE)
Compatible with both MYSTERIUM & MYSTERIUM-X sensor RED ONEs. Power RED ONE directlyCall us for pricing information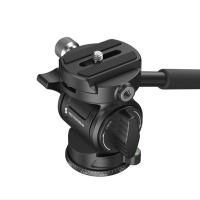
SmallRig Video Head CH3 4936
Promotion: -25%The SmallRig Video Head CH3 4936 is a compact and versatile video head designed for37.39 €50 €In stock 5 pcs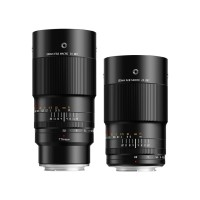
TTArtisan Macro 100mm F2.8 L
Ideal choice for Macro photo. TTArtisan 100mm F2.8 Macro 2x Macro features an optical389 €To be sent 1 pcs
SHAPE TUBE 15MM STUDIO 10"
One pair of SHAPE 15-mm aluminum rods for your compatible camera rig. Mount any 15-mm78 €In stock > 5 pcs


