- Search
-
Login
-
0
ComparisonAdd products to compare, then they will appear here and you can compare parameters.
-
0
0 €Nothing in the basket.
Blog
New version 11.00.13684 of the editing application EDIUS 11 has seen the return of the media used indicator in the timeline (the "green dot" for binned previews), as well as significant new hardware decoding of H.264 (AVC) and H.265 (HEVC) media via Nvidia NVDEC, as well as GPU acceleration for other native EDIUS effects (Primary Color Correction, Monotone and Median). Of course, there are also minor fixes and optimizations (e.g. faster display of bin content)... Full list of new features here, new version available for download at edius.net/edius_download.html. Note: Along with the EDIUS 11.10.13684 update, you must also install the new VisTitle 3.100 (Express or full version). Therefore, it is recommended to perform the installation using the EDIUS 11 Setup Manager. If you will be installing the update manually, download the VisTitle 3.100 Update here.

Universal Lens Mount for T-Series, M-Series and O-Series

What's in the box
ASSEMBLED
- Aluminum Bracket - Strong aluminum frame built for durability.
- Thumb Screw - Thumbscrew used to tighten the lens mount securely to your device.
- Edge Camera Insert - Used for center-weighted camera devices.
- M-Series or O-Series Mount - Glass-filled nylon mounts designed to keep your lenses secure.
- Thin Screw Pad - Used for mobile devices.
EXTRA
- Thick Screw Pad - Used for thinner devices such as tablets or laptops.
- Center Camera Insert - Used for off-set weighted camera devices.
- Edge Camera Insert - additional spare
- M-Series or O-Series Mount - additional spare
Your mount will come built and ready to use with the edge camera insert.
Installing your Lens Mount

FOR DEVICES WITH THE CAMERA IN THE CENTER OF THE BACK (FAR FROM THE EDGE).
- Remove the edge camera insert (short plastic edge piece) by pushing it outwards along the metal bracket rails
- Grab your Center Camera Insert and align along the metal bracket rails.
- Push down firmly until you hear a subtle click.
- Slide the lens mount over your device and align with the device’s camera as accurately as you can for the best results.
- Once your mount is aligned with the camera, begin to tighten the thumbscrew until it is firm in place.
- Small adjustments to mount alignment may be necessary after tightening down the thumbscrew.
- You are now ready to attach your lens to your mount

FOR DEVICES WITH THE CAMERA CLOSER TO THE EDGE OF THE PHONE.
- Your mount will come installed and ready to use with the edge camera insert
- Ensure you have your device pushed all the way up to the inner pad of the metal bracket of the lens mount (the device will touch the foam insert inside of the lens mount)
- Slide the lens mount over your device and align with the device’s camera as accurately as you can for the best results.
- Once your mount is aligned with the camera, begin to tighten the thumbscrew until it is firm in place.
- Small adjustments to mount alignment may be necessary after tightening down the thumbscrew.
- You are now ready to attach your lens to your mount
*If you are using a tablet or iPad, it is best to slide the mount horizontally than vertically as you would with a mobile device.

FOR DEVICES THINNER THAN 6MM (E.G. LAPTOP SCREEN OR TABLETS IN SOME CASES)
- Remove the thin screw pad from the thumbscrew, by pulling away (pads are press-fit into the end of the thumbscrew).
- Align the thick screw pad onto the thumbscrew and press down to snap the pad into place on the end of the thumbscrew.
BEST PRACTICES
- Do not leave the lens mount attached to your device while not in use
- Do not store the lens mount with a lens attached
- Remove your lens cap prior to attaching your lens onto the mount
Disclaimer: Using a Moment case is the way to go. This clip is for everyone who owns a phone where we don’t have a case. Although we love it, it’s not as perfect as using a Moment Phone Case. (our boss made us say that)
Device Compatibility: For best results, we recommend using the M-Series mount for any devices that were released in 2017 and newer and for O-Series mount, any devices released in 2016 or older.
We are now offering korean brand Lumantek products including very handy HDMI/SDI converters with integrated LCD display, compact "Mini Converter" converters, distribution amplifiers, overheads and more. The ez-SHV+ (3G/HD/SD-SDI to HDMI) and ez-HSV+ (HDMI to 3G/HD/SD-SDI) HD converters feature a 2.7" display for signal preview (and audio meters), DIP mode switches, and universal 5-18V / <3W power supply for easy installation in transmission trucks, preview stations, etc. Already in stock!

Sony launches two new products introduced late last year: the body Sony Alpha A9 III and a telephoto lens Sony FE 300 mm f/2.8 GM OSS! The flagship model of the Alpha series features a newly developed full-frame image sensor with global shutter that allows shooting at speeds up to 120 fps combined with a very powerful AF/AE system with artificial intelligence and the ability to synchronize flash at all shooting speeds. It allows recording up to 4Kp120 video (without cropping) or 4Kp60 with oversampling from 6K, of course S-Cinetone technology, powerful image stabilization, etc.

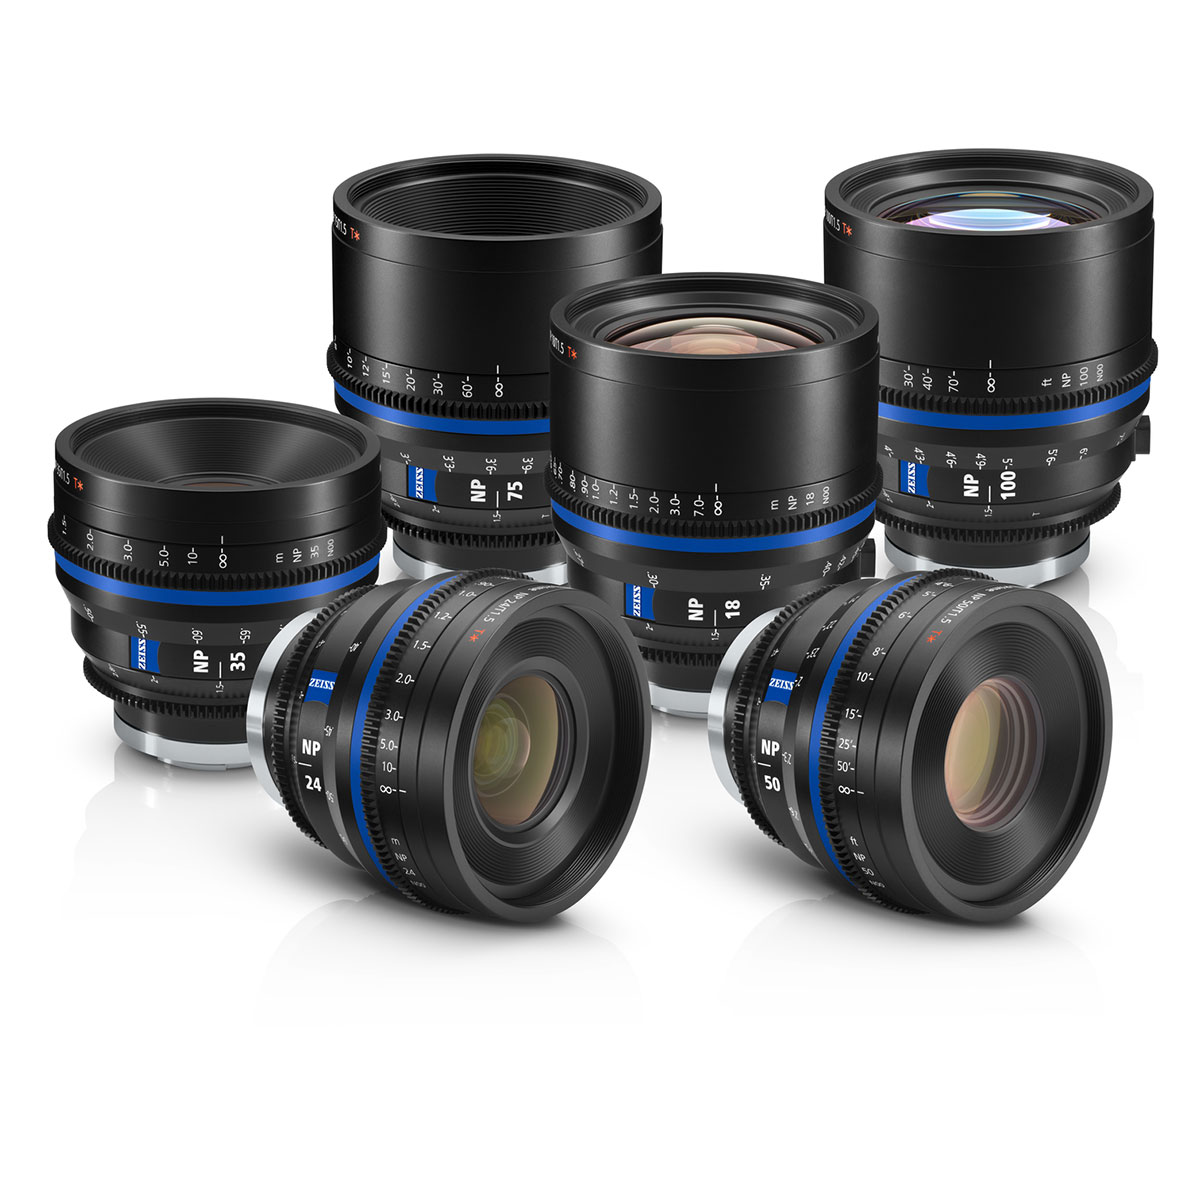
Film optics legend Zeiss introduces new line of compact, professional film lenses Nano Prime. The range includes six models with focal lengths of 18mm, 24mm, 35mm, 50mm, 75mm and 100mm at a consistent T/1.5 aperture. Although the bayonet is interchangeable (Zeiss IMS - Interchangeable Mount System), the lenses are currently only available for E-mount and, in addition to the highly durable and precise design, they also boast Zeiss CinCraft metadata transfer for easy post-production (CinCraft Mapper, CinCraft Scenario)... Coming soon!


